Here are the main points to remember when tackling mold on your walls with natural, homemade solutions.
Key Takeaways
- White vinegar is a powerful, natural mold killer that works by killing spores and preventing regrowth.
- Baking soda is great for absorbing moisture and can be used as a paste for scrubbing stubborn mold stains.
- Hydrogen peroxide (3%) is a gentle yet effective option that kills mold and is odorless, but test on a small spot first.
- Tea tree oil and grapefruit seed extract are natural fungicides that can be mixed with water for a spray solution.
- Proper ventilation, drying, and fixing moisture issues are key to preventing mold from returning after treatment.
Understanding Your Homemade Mold Killer Options
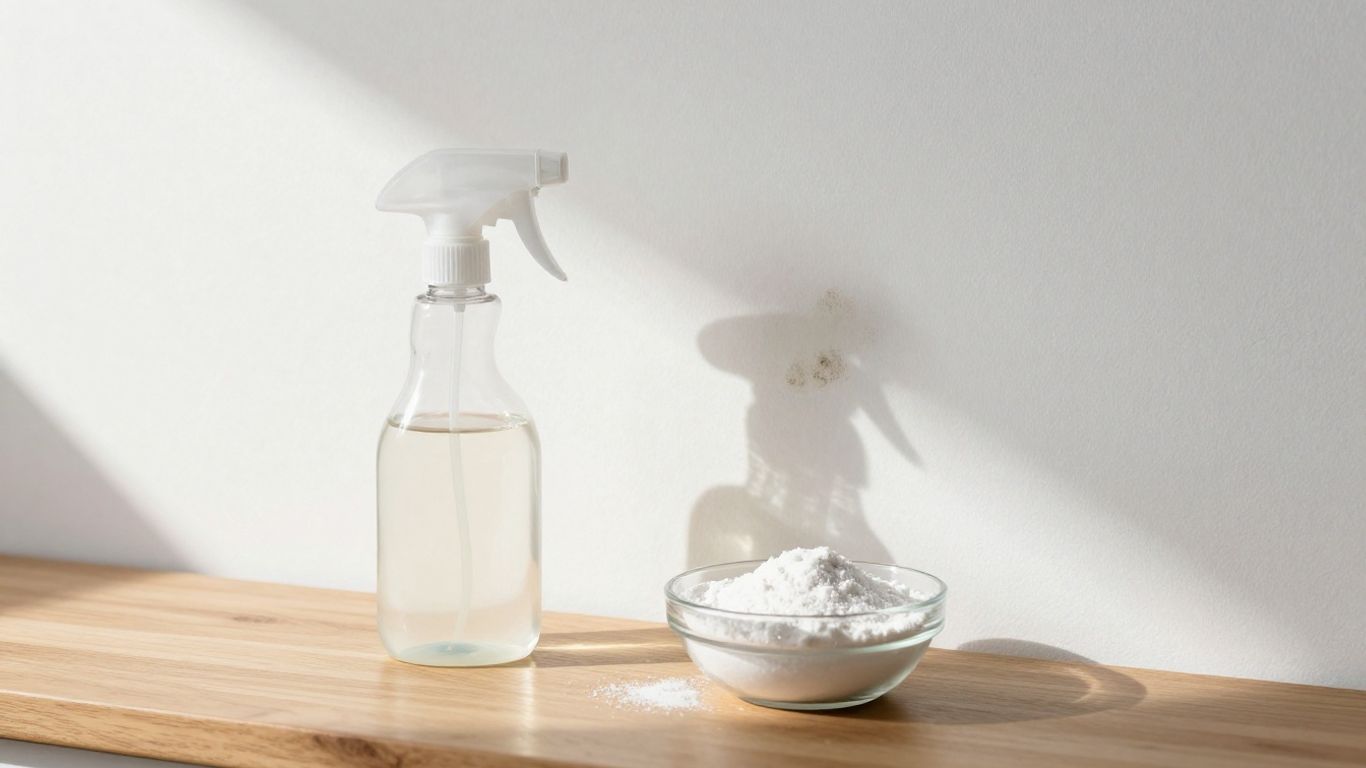
When you spot that fuzzy stuff creeping up your walls, it’s easy to panic. But before you reach for the harsh chemical cleaners, know that you’ve got some pretty effective natural options right in your pantry. These aren’t just budget-friendly; they’re often gentler on your home and your family too. The goal is to find solutions that kill the mold and help prevent it from coming back.
The Power of Vinegar for Mold Eradication
White distilled vinegar is a real workhorse when it comes to mold. Its acidity is what makes it so good at tackling those stubborn spores. Studies show it can get rid of a significant percentage of mold spores, viruses, and bacteria. Plus, it’s pretty safe to use on most surfaces. You can spray it directly onto the moldy spots, let it sit for a bit, and then scrub it away. It’s a simple yet effective way to start tackling mold issues. If the smell is a bit much, you can always add a few drops of essential oil, though the vinegar scent usually fades pretty quickly.
Harnessing Baking Soda’s Moisture-Absorbing Abilities
Baking soda is another one of those handy household items that does more than just keep your fridge fresh. It’s great for mold because it not only kills it but also absorbs moisture, which is exactly what mold loves. You can mix it with water to create a spray or even a paste for tougher spots. It’s a gentle option that’s safe for everyone in the house, including pets. It also helps with those musty smells that often come along with mold. Using baking soda is a smart move for both cleaning up existing mold and helping to prevent new growth.
The Antifungal Strength of Tea Tree Oil
Tea tree oil might be known for other uses, but it’s also a natural fungicide. This means it has the power to fight off mold and keep it from returning. You’ll want to mix it with water before putting it in a spray bottle. It’s a good idea to test it on a small, hidden area first, just to be sure it doesn’t affect your wall’s color. While it’s natural, it’s still a good idea to wear gloves when you’re using it, as it can sometimes irritate the skin. The scent is quite strong, but it does dissipate after a few days. It’s a potent natural mold killer that can be quite helpful.
When dealing with mold, remember that safety comes first. Always make sure you have good ventilation and consider wearing protective gear like gloves and a mask, especially if you’re sensitive to mold or using stronger natural solutions. It’s better to be safe than sorry when tackling these fuzzy invaders.
Here’s a quick look at some common natural mold fighters:
- Vinegar: Acidic, kills mold, and prevents regrowth.
- Baking Soda: Absorbs moisture, scrubs away spores, and deodorizes.
- Tea Tree Oil: Natural fungicide, helps prevent spores from returning.
These ingredients are readily available and can be found at most grocery stores, making them an accessible choice for DIY mold removal.
Effective Natural Ingredients for Wall Mold Removal
When you spot that unwelcome fuzzy growth on your walls, reaching for harsh chemicals isn’t always the best first step. Luckily, your kitchen pantry likely holds some powerful allies against mold. These natural ingredients are not only budget-friendly but also work surprisingly well to tackle mold without the strong fumes of commercial cleaners. The key is understanding their properties and how to use them effectively.
Hydrogen Peroxide: A Gentle Yet Potent Solution
Hydrogen peroxide, specifically the 3% solution you can find at most drugstores, is a fantastic mold killer. It’s odorless and breaks down into just water and oxygen, making it a safer choice. It works by killing the mold spores on contact and can even help lighten stains left behind. Just be sure to test it on a small, inconspicuous area first, especially on painted surfaces, to make sure it doesn’t cause any discoloration. You can apply it directly from the bottle or put it in a spray bottle for easier application.
Lemon Juice: Natural Acidity Against Mold
Don’t underestimate the power of citrus! Lemon juice, with its natural acidity, can effectively kill mold spores. It’s also great because it leaves behind a fresh, clean scent, unlike some other cleaning agents. You can use fresh lemon juice or bottled. Simply apply it to the moldy area, let it sit for a bit, and then wipe it away. It’s a simple way to combat mold and deodorize at the same time. For tougher spots, you might want to try a paste made from lemon juice and baking soda.
Grapefruit Seed Extract for Mold Defense
Grapefruit seed extract might sound a bit more exotic, but it’s a potent natural antifungal. It contains compounds that help prevent mold spores from growing and spreading. You typically mix a few drops of the extract with water in a spray bottle. This mixture is great for treating surfaces where mold tends to reappear. It’s a good option if you’re looking for something that works without strong odors and has long-lasting effects. You can find grapefruit seed extract at most health food stores or online. It’s a good idea to have some on hand for general cleaning too, not just for mold. Learn more about natural cleaners.
When dealing with mold, remember that ventilation is your best friend. Always ensure the area is well-aired during and after cleaning to help dry surfaces completely and prevent mold from returning. If you’re unsure about the extent of the mold or if it covers a large area, it’s always best to consult with a professional.
Preparing Your Homemade Mold Killer Solutions
Alright, so you’ve decided to tackle that mold situation with some good old-fashioned DIY solutions. That’s a smart move! Making your own mold killers is not only budget-friendly but also lets you skip out on those harsh chemical smells. Let’s get down to mixing up some effective potions.
Simple Vinegar Spray Recipe
White distilled vinegar is a real workhorse when it comes to mold. It’s acidic enough to kill a good chunk of mold species. For a basic spray, you’ll want to use it straight up, no diluting needed. Just pour undiluted white vinegar into a spray bottle. That’s it! Seriously, it’s that simple. This undiluted spray is your first line of defense.
Here’s a quick rundown:
- What you need: A spray bottle and white distilled vinegar.
- How to make it: Fill the spray bottle with undiluted white distilled vinegar.
- Pro tip: If the smell of vinegar is a bit much for you, don’t worry. It fades after a while. You can also add a few drops of essential oil, like tea tree or lavender, to the mix, though it’s not strictly necessary for killing the mold.
Baking Soda Paste for Stubborn Stains
Baking soda is fantastic for a couple of reasons: it absorbs moisture, which mold loves, and it’s a mild abrasive that can help scrub away stains. For tougher spots, a paste is the way to go. It sticks to the mold and gives it a good soaking.
- Ingredients: Baking soda and water.
- Mixing: Start with about a quarter cup of baking soda and add just enough water to form a thick paste. You want it spreadable, not runny.
- Application: Use a brush or sponge to apply the paste directly onto the moldy areas. Let it sit for a bit, then scrub gently. You can also use this paste to help prevent future mold growth by applying it to damp areas.
Essential Oil and Water Mixtures
Essential oils like tea tree oil are known for their antifungal properties. They can be a great addition to your mold-fighting arsenal, especially if you’re looking for something with a bit more punch or a nicer scent than vinegar.
- Tea Tree Oil Spray: Mix about one teaspoon of tea tree oil with one cup of water in a spray bottle. Shake it well before each use because the oil and water will separate. This mixture is potent, so a little goes a long way.
- Grapefruit Seed Extract Spray: Similar to tea tree oil, grapefruit seed extract has compounds that fight mold. Mix about 10-20 drops of grapefruit seed extract with one cup of water in a spray bottle. Again, shake well before applying.
When preparing any of these solutions, it’s always a good idea to test them on a small, inconspicuous area first. This is especially true for colored surfaces, as some natural ingredients, like hydrogen peroxide (though not covered in this section, it’s good to know), can sometimes cause discoloration. Better safe than sorry!
Remember to have your protective gear ready before you start mixing and applying these solutions. Safety first!
Application Techniques for Homemade Mold Killers
Alright, so you’ve whipped up your natural mold-busting concoction. Now what? Applying it the right way is key to actually getting rid of that fuzzy stuff and keeping it from coming back. It’s not just about spraying and hoping for the best, you know.
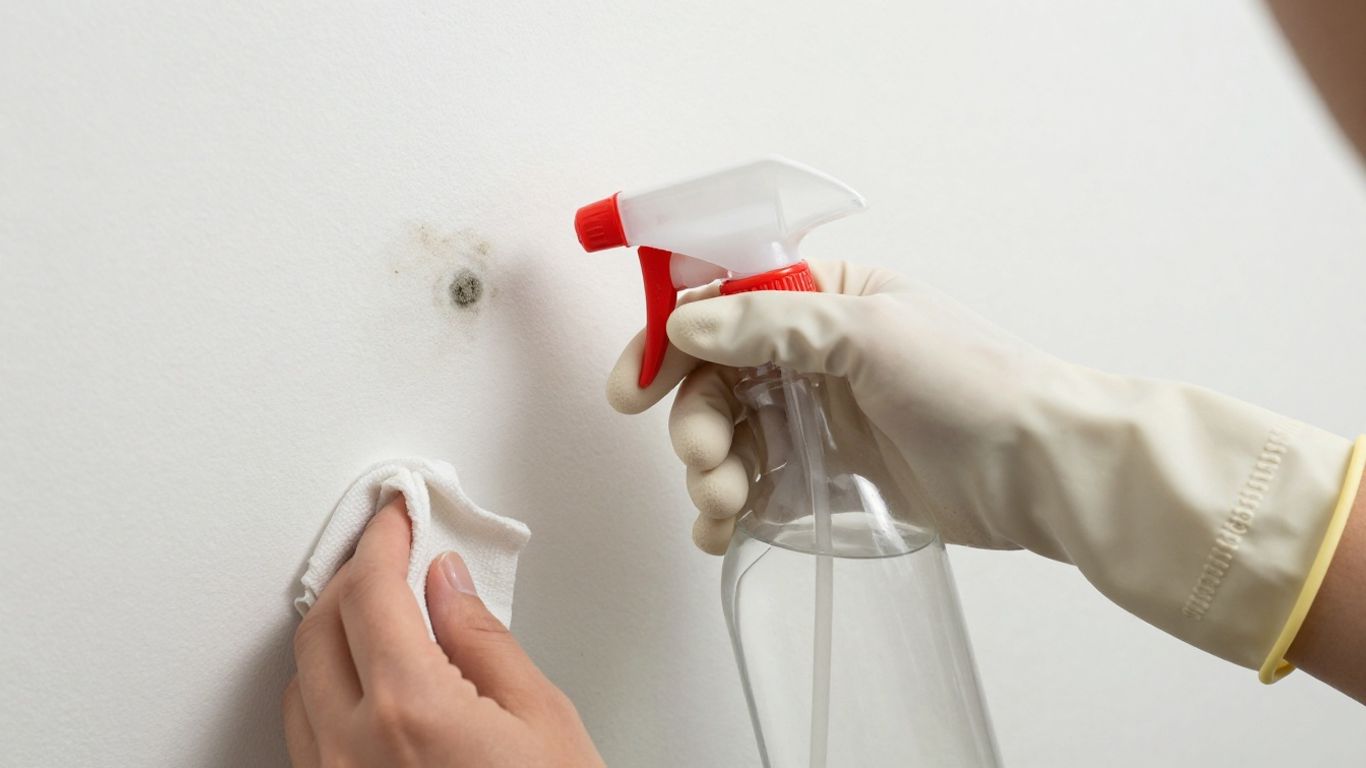
Spray and Scrub Method
This is your go-to for most situations, especially if you’re using vinegar or a hydrogen peroxide solution. Grab a spray bottle and give the moldy spots a good soaking. Don’t be shy, but also don’t drown the wall. Let it sit for a bit – usually, 10-15 minutes is a good starting point. Then, grab a scrub brush (a soft-bristled one is usually best for painted walls to avoid damage) and really work at those moldy patches. You want to physically lift the mold off the surface. After scrubbing, wipe the area down with a clean, damp cloth to remove loosened mold and residue. A final wipe with a dry cloth helps start the drying process.
Paste Application for Stubborn Stains
For those really tough, set-in stains, a paste can be more effective. Think of it like a targeted treatment. If you’re using baking soda, mix it with a little water until it forms a thick paste. Apply this directly onto the stubborn mold spots. You can use a brush or even a cloth for this. Let the paste sit there for a while, maybe 30 minutes or even longer for really bad areas. The paste helps to draw out the moisture and break down the mold. After it’s had time to work, scrub gently and then wipe away the residue. This method is great because it gives the ingredients more contact time with the mold.
Allowing Solutions to Work
This is super important and often overlooked. After you’ve applied your spray or paste, you need to give it time to do its thing. For sprays like vinegar or tea tree oil mixtures, letting them air dry for an hour or more can be beneficial. This allows the natural ingredients to continue working on killing any lingering spores. For pastes, as mentioned, letting them sit for a good chunk of time is crucial. Patience is truly a virtue when battling mold naturally. Don’t rush the process; letting the solutions dry and work is part of the treatment. Once everything is dry, you can then wipe away any remaining residue. This step is vital for preventing mold from returning, much like how professionals ensure EVs are properly isolated post-crash to prevent further issues.
Here’s a quick rundown of typical waiting times:
| Solution Type | Application Method | Recommended Wait Time | Follow-up Action |
|---|---|---|---|
| Vinegar Spray | Spray | 15-30 minutes | Scrub, wipe with damp cloth, then dry |
| Baking Soda Paste | Apply Paste | 30 minutes – 1 hour | Scrub gently, wipe with damp cloth, then dry |
| Tea Tree Oil Mixture | Spray | 1 hour – 2 hours | Wipe with dry cloth (no scrubbing usually needed) |
| Hydrogen Peroxide | Spray | 10-15 minutes | Scrub, wipe with damp cloth, then dry |
Safety and Prevention After Mold Treatment
Alright, so you’ve gone and tackled that mold on your walls. Nice job! But hold on, we’re not quite done yet. After you’ve scrubbed and rinsed, it’s super important to think about what comes next. This isn’t just about making sure the mold doesn’t come back, but also about keeping yourself safe during the whole process.
Protective Gear for Mold Removal
First things first, let’s talk about protecting yourself. Mold spores can be a real pain, and inhaling them isn’t good for anyone, especially if you have allergies or breathing issues. So, even though you’re using natural stuff, it’s still a good idea to gear up. Think gloves – the rubber kind work well – to keep your hands from getting irritated. Eye protection, like goggles, is also smart, just in case any cleaning solution splashes around. And for airborne spores, an N-95 respirator is your best bet. It might feel like overkill for a small patch, but it’s better to be safe than sorry, right? You can find good respirators online or at hardware stores.
Ensuring Proper Ventilation and Drying
This is a big one. Mold absolutely loves moisture, so if you don’t dry things out properly, you’re basically inviting it back for a second round. After you’ve cleaned the area, open up windows and doors to get some fresh air circulating. If you have fans, point them at the damp spots. A dehumidifier can also be a lifesaver, especially if you live in a humid climate. The goal is to get that wall completely dry, and I mean completely dry, before you even think about putting things back. This might take a day or two, so be patient.
Preventing Future Mold Growth on Walls
Now, for the long game. How do we stop this from happening again? It all comes down to moisture control. Keep an eye out for any leaks, whether it’s from your roof, pipes, or windows, and fix them ASAP. Make sure your bathroom and kitchen fans are actually working and use them when you’re cooking or showering. Sometimes, just keeping windows open a bit more can make a difference. If you notice any condensation building up, wipe it away. Basically, you want to make your walls as unappealing to mold as possible by keeping them dry and well-ventilated. It’s a bit of an ongoing effort, but way better than dealing with mold again.
Remember, if the mold covers a really large area, like more than 10 square feet, it’s probably time to call in the pros. They have the right gear and know-how to handle bigger jobs safely.
Here’s a quick rundown of what to do:
- Check for leaks: Regularly inspect pipes, roofs, and windows.
- Ventilate: Use exhaust fans and open windows.
- Control humidity: Consider a dehumidifier if needed.
- Dry damp areas: Don’t let water sit around.
- Fix issues promptly: Address any water problems right away.
Conclusion
Dealing with mold on your walls doesn’t have to mean expensive chemicals. These simple, natural homemade mold killer solutions use common household items to get the job done. Not only are they kinder to your wallet and the environment, but they’re also safer for your family and pets. Remember to always use protective gear and ensure good ventilation when cleaning, and take steps to control moisture to keep mold from coming back. A little effort with these natural remedies can go a long way in keeping your home healthy and mold-free.
Frequently Asked Questions
What’s the easiest homemade mold killer for walls?
Probably the easiest is a simple spray made from equal parts white vinegar and water. Just spray it on the moldy spot, let it sit for a bit, then wipe it clean. It’s super simple and uses stuff you likely already have.
Can I use baking soda to clean mold off painted walls?
Yes, you can! Mix baking soda with a little water to make a paste. Gently scrub the moldy areas with this paste using a soft brush or cloth. It’s a mild abrasive that helps lift the mold without damaging most paint jobs. Just be sure to test it on a hidden spot first if you’re worried.
How long should I leave a vinegar spray on the mold?
For most situations, letting the vinegar spray sit on the mold for about 15 minutes before you scrub it off is a good starting point. For tougher spots, you might let it sit a bit longer. The idea is to give the vinegar time to break down the mold.
Is tea tree oil safe for pets and kids?
While tea tree oil is natural, it’s pretty strong. It’s best to keep pets and small children away from the area while you’re applying it and until it’s completely dry. Even though it’s natural, it can still cause irritation if ingested or touched directly.
What if the mold covers a large area of my wall?
If the mold is spread out over a large space, like more than 10 square feet, it’s usually best to call in a professional. They have the right gear and know-how to handle big mold problems safely and effectively. Trying to tackle too much yourself could spread spores around.
How can I stop mold from growing back after I clean it?
The biggest thing is to control moisture. Fix any leaks, make sure your bathroom has good ventilation (use the fan!), and consider a dehumidifier if your home is often damp. Keeping things dry is the best way to prevent mold from making a comeback.