Wood furniture, floors, and trim can really make a house feel like a home. But when water gets involved, whether from a leaky pipe or a storm, that beautiful wood can get damaged fast. It might start with a little discoloration or a weird smell, but before you know it, things can get warped, stained, or even start to rot. It sounds bad, and it can be, but often, you can fix it. This guide will walk you through how to repair water damage to wood, step by step, and help you figure out when it’s time to call in the pros.
Key Takeaways
- Stop the water source first. Before you do anything else, find out where the water is coming from and fix it. No point in fixing wood if it’s just going to get wet again.
- Drying is the most important part. You need to get the wood completely dry, and that can take a long time – think weeks, not just a couple of days. Don’t try to repair it until it’s bone dry, or you’ll just trap moisture.
- Clean up after drying. Once the wood is dry, clean off any dirt, mold, or stains. A simple mix of vinegar and water usually does the trick for light mold, but always be careful.
- Repair structural issues before surface ones. If wood is warped, cracked, or has holes, you’ll need to fill, glue, or reassemble those parts. Then you can sand everything smooth.
- Know your limits. Minor cosmetic issues are often DIY-friendly. But if the wood feels soft, crumbles, or you see a lot of mold, it’s best to call a professional restoration service.
Understanding Wood’s Reaction to Water Exposure
Wood is a natural material, and like most things from nature, it reacts to its environment. Water is one of its biggest nemeses. When wood gets wet, it doesn’t just get damp; it actually starts to change on a molecular level. Think of it like a sponge – it soaks up water, and when it does, it swells. This swelling isn’t always uniform, which is why you see warping and cupping.
Recognizing Early Signs of Water Intrusion
Catching water damage early is key to minimizing the headache and cost. You don’t always need a flood to cause problems; even a slow, steady leak can do a number on your wood over time. Keep an eye out for these initial indicators:
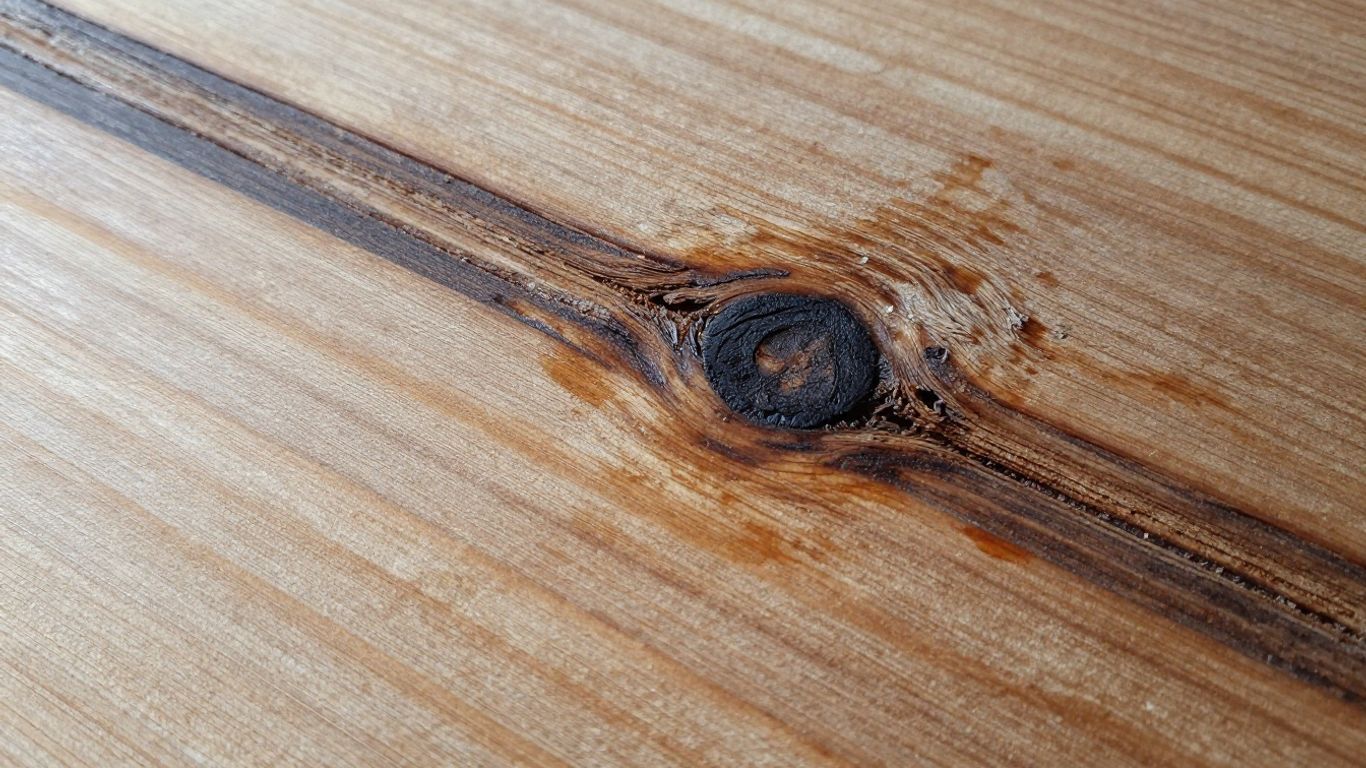
- Dark water stains or rings: These are often the first visual clue that water has penetrated the surface.
- Damp or cool surfaces: If a wooden area consistently feels cooler or damper than surrounding areas, moisture is likely present.
- Slight swelling or raised wood fibers: You might notice the wood grain looking a bit fuzzy or the surface feeling slightly uneven.
- Musty odors: This is a big one. A persistent musty smell often signals the early stages of mold or mildew growth, which thrives in damp conditions.
The Progression of Water Damage Over Time
If those early signs are ignored, the damage doesn’t just sit there; it gets worse. It’s a bit like a snowball rolling downhill. What starts as a minor issue can quickly escalate into something much more serious.
- 0–24 hours: Surface moisture, slight discoloration, and maybe a faint musty smell appear.
- 24–48 hours: Swelling becomes more noticeable, wood fibers might start to lift, and early mold can begin to form.
- Days: Warping, cupping (where edges lift), and separation between boards or pieces of wood become apparent.
- Weeks: Structural integrity starts to fail. This is when you might see rot setting in, or the wood becoming so compromised it can no longer support weight.
It’s important to remember that wood can hold moisture for a long time, even after the visible water is gone. Trying to repair wood that is still damp inside can trap moisture, leading to even bigger problems down the road, like mold and further structural damage.
Assessing the Severity of Wood Damage
So, how bad is it, really? This is where you need to be honest with yourself. Some damage is cosmetic, meaning it affects the look but not the strength. Other damage is structural, meaning it affects the wood’s ability to do its job, like holding up a floor or a shelf. A simple screwdriver test can help you gauge this.
- DIY-Friendly Damage: This includes things like cosmetic stains, light swelling that can be smoothed out, mild warping, or discoloration that doesn’t affect stability.
- Signs You Need a Professional: If the wood feels soft or spongy, crumbles easily, shows visible mold growth, or gives way when pressed, it’s time to call in the experts. For load-bearing components like subfloors or joists, always err on the side of caution and seek professional help. If a screwdriver sinks more than 1/8 inch into the wood, that’s a clear sign of structural compromise that requires professional attention. For more on handling insurance claims related to water damage, you might find this guide helpful: water damage claims.
Dealing with mold and mildew can be a real pain. If you’re looking for a way to tackle stains and prevent regrowth on surfaces, a product like Jomax Mold & Mildew Stain Remover can be quite effective.
The Crucial First Step: Thoroughly Drying Damaged Wood
Alright, so you’ve found some water damage on your wood. Before you even think about patching or sanding, there’s one thing you absolutely have to do: dry it out. And I mean really dry it out. This isn’t a quick job; it’s the foundation for everything else.
Removing Standing Water Immediately
First things first, if there’s any water just sitting there, get rid of it. Use towels, a wet vac, whatever you’ve got. Don’t let it just soak in deeper. This initial cleanup is super important because the longer water sits, the more damage it does. Think of it like stopping a leak from a roof repair before it gets worse.
Maximizing Airflow for Effective Drying
Once the standing water is gone, you need to get air moving. Open windows if the weather’s nice, but don’t rely on that alone. Set up fans to blow air across the wet surfaces. Dehumidifiers are your best friend here; they pull moisture right out of the air. You want to create a dry environment so the wood can release its trapped water. For swollen drawers or doors, sometimes you need to remove panels to let air get inside.
Remember, wood can hold moisture for a long time, even when it feels dry on the surface. Rushing the drying process is a common mistake that leads to bigger problems down the road, like mold or the finish bubbling later.
Understanding Realistic Drying Timelines
This is where patience comes in. Minor dampness might dry in a few days. But if the wood got really soaked, you could be looking at weeks, or even months, for it to dry completely. Hardwood floors, for example, often need at least a week or two. Don’t trust just your sense of touch; moisture meters are the best way to know for sure. Trying to repair wood that’s still wet inside is like building on a shaky foundation – it’s just not going to last. You’re looking at a timeline that might be:
- Minor Dampness: 3-5 days
- Moderate Saturation: 1-2 weeks
- Heavy Saturation: Several weeks to months
It’s better to wait too long than not long enough. Getting this step right prevents future headaches like warping, mold growth, and finishes failing. For serious issues, especially if you suspect mold, professional mold remediation might be necessary.
Cleaning and Preparing Water-Damaged Surfaces
Okay, so the water’s gone, and you’ve done your best to dry things out. Now comes the part where we actually clean up the mess and get the wood ready for repairs. This isn’t just about making it look better; it’s about stopping any lingering problems before they get worse.
Removing Mold and Mildew Safely
If you’ve had water sitting around, especially for more than a day or two, you might be dealing with mold or mildew. It’s not just unsightly; it can be bad for your health and can keep eating away at the wood. The key here is to tackle it before it spreads.
Here’s a simple way to handle early mold growth:
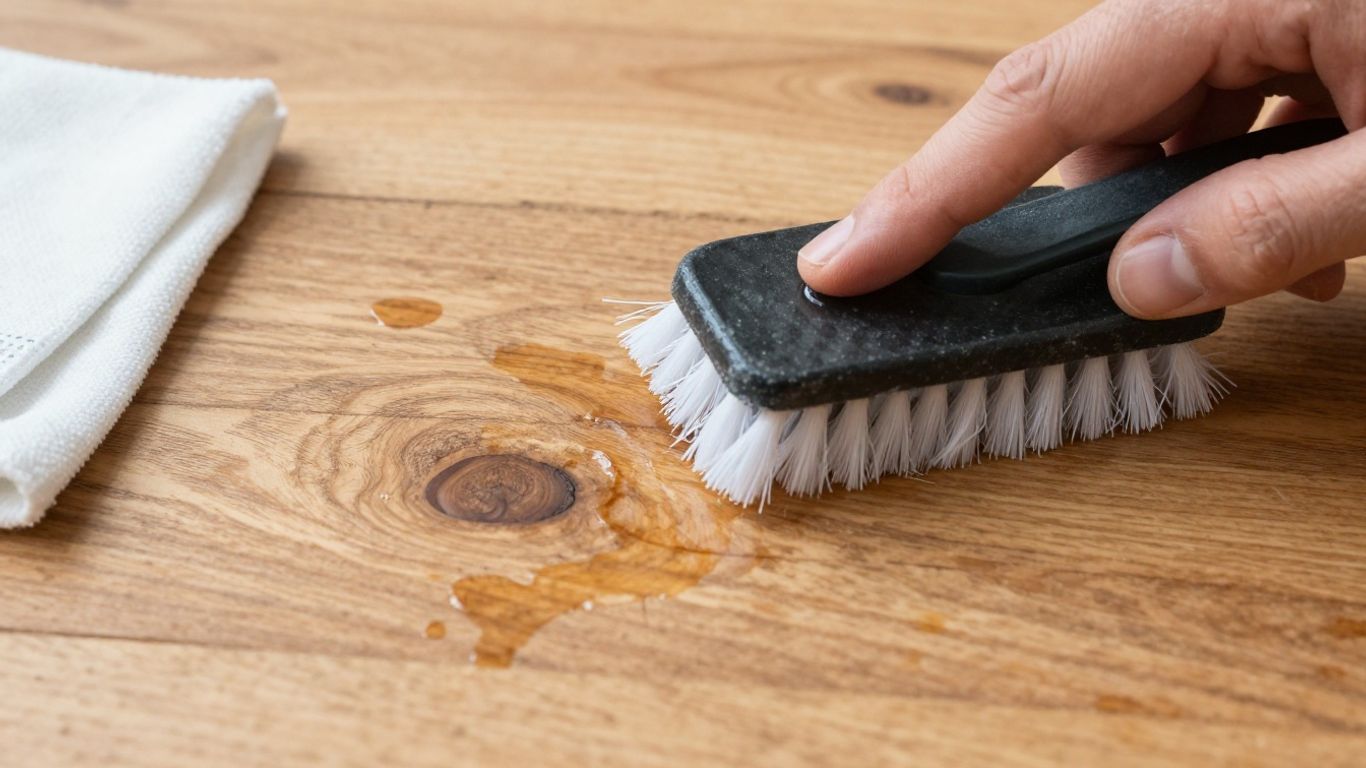
- Mix a solution: Combine one part white vinegar with three parts water in a spray bottle or bucket.
- Apply and scrub: Lightly spray or dab the solution onto the affected areas. Use a soft brush or cloth to gently scrub away the mold. Don’t soak the wood.
- Wipe clean: Use a clean, damp cloth to wipe away the residue. Make sure to rinse the cloth frequently.
- Dry thoroughly: Allow the area to air dry completely. You might want to use a fan to speed this up.
For more stubborn mold, you might need to look into specific mold removal supplies, but for most minor cases, the vinegar solution does a pretty good job. Always wear gloves and consider a mask if you’re sensitive to mold spores.
Scraping Away Loose or Degraded Material
After cleaning, you’ll likely see bits of wood that are no longer sound. This could be swollen fibers, peeling paint, or wood that just feels soft and crumbly. You need to get rid of this loose stuff so you have a solid surface to work with.
Grab a putty knife or a scraper. Gently work it under any peeling paint or loose veneer. For soft, degraded wood, you can carefully scrape away the damaged parts until you reach firmer material. Don’t go crazy and remove good wood, just the bits that are falling apart.
Disinfecting Surfaces After Drying
Once everything is clean and you’ve scraped away the loose bits, it’s time to disinfect. This step helps kill any remaining bacteria or spores that might have been left behind by the water and prevents future growth. It’s like a final clean sweep.
After the wood has been cleaned and any loose material removed, a good disinfection step is important. This helps ensure that no lingering bacteria or mold spores are left behind, setting the stage for successful repairs and preventing future issues.
After the wood is completely dry, you can use a disinfectant. A mild bleach solution (about 1 cup of bleach per gallon of water) can work, but be cautious as it can lighten wood. A better option for wood might be a commercial wood disinfectant or even just a good wipe-down with rubbing alcohol. Again, let it dry fully afterward. This whole process might seem like a lot, but getting these surfaces clean and prepped is a big step toward a good repair job. It really makes a difference in the final outcome.
Repairing Structural and Surface Imperfections
Smoothing Warped or Swollen Areas
After the wood has completely dried out, you might notice it’s not quite as flat as it used to be. Sometimes, water makes wood swell up, and when it dries, it can leave behind a warped or uneven surface. Don’t panic, this is usually fixable. You’ll want to grab some sandpaper, and I’d suggest starting with a medium grit, maybe around 100-120. Gently sand down the high spots. The key here is to be patient and work slowly. You’re trying to level the surface without taking off too much good wood. Keep checking your progress often, especially if you’re working with wood grain, because it’s easy to sand unevenly there. You’re aiming for a smooth transition back to the original level.
Applying Wood Filler for Voids and Rot
If the water damage was bad enough to eat away at the wood, leaving holes or soft, rotted spots, you’ll need wood filler. This stuff is like a putty that hardens up. You’ll want to pack it into the damaged areas. It’s a good idea to slightly overfill the spot because most wood fillers shrink a bit as they dry. Let it cure completely according to the product’s instructions. Rushing this part means you’ll end up with soft spots that might collapse later, and nobody wants that. Once it’s fully hardened, you’ll sand it down smooth, just like the warped areas.
Reassembling Separated or Cracked Wood Pieces
Sometimes, water can cause wood to split or crack apart. If you have pieces that have separated, you can often glue them back together. First, clean out any debris from the crack. Then, apply a good quality wood glue to both surfaces that will be joined. Make sure you get good coverage. After applying the glue, press the pieces together firmly. You’ll likely need to clamp them in place to hold them tight while the glue dries. Don’t rush to remove the clamps; let the glue cure fully. This creates a strong bond that should hold the wood together.
Remember, the goal here is to restore the wood’s integrity. While a perfect visual match might be tough, making the wood structurally sound again is the main win. If the damage is too extensive, it might be time to consider professional help for water damage restoration.
Here’s a quick rundown of what to do:
- Assess the damage: Figure out how deep the rot or separation goes.
- Clean the area: Remove any loose bits or debris before filling or gluing.
- Apply filler/glue: Pack it in well, overfilling slightly if using filler.
- Clamp and cure: Secure pieces and let adhesives or fillers harden completely.
- Sand smooth: Level the repaired areas with the surrounding wood.
Restoring the Wood’s Appearance and Integrity
Okay, so you’ve dried everything out, cleaned it up, and maybe even filled some holes. Now it’s time to make that wood look good again, and more importantly, make sure it’s strong. This is where we bring it back to life.
Sanding Repaired Areas Smooth
After any filler has fully cured, or if you’ve glued pieces back together, it’s time to get things smooth. You want the repaired spot to blend in, not stick out like a sore thumb. Start with a medium-grit sandpaper, maybe around 100 or 120 grit, to knock down any high spots. Then, move to a finer grit, like 180 or 220, to get it really smooth. The goal is to feather the edges so there isn’t a hard line between the old wood and the new filler or glue. It takes a bit of patience, but it makes a huge difference in the final look. Keep wiping away the dust as you go so you can see your progress.
Matching Stains and Finishes
This can be the trickiest part. Getting a perfect match for stain or paint can feel impossible sometimes. You’ll want to test your stain or paint on a scrap piece of wood first, or on an inconspicuous area of the repair if possible. Remember that wood takes stain differently depending on its grain and type. You might need to apply multiple thin coats of stain to build up the color. If you’re painting, you might need a primer first. Don’t forget to consider the sheen too – matte, satin, semi-gloss, or gloss. A mismatch here can also be noticeable.
Here’s a quick look at common finishes and their uses:
| Finish Type | Best For |
|---|---|
| Water-based Poly | Non-yellowing, good for general use |
| Oil-based Poly | High humidity areas, kitchens, bathrooms |
| Lacquer | Quick drying, furniture |
| Varnish | Durable, exterior applications (less common for indoor repairs) |
Applying Protective Sealants
Once you’re happy with the color and finish, it’s time for the final layer of protection. This sealant, often a top coat of polyurethane or a specific wood protector, is what will help keep water out in the future. Apply it evenly, just like you did with the stain or paint. Make sure to cover the entire surface, not just the repaired section. This creates a barrier and prevents moisture from getting into any weak spots later on. It’s like giving your repair a shield.
It’s important to remember that even the best repairs might not look exactly like the original wood. Focus on making the wood structurally sound and protected. A repair that’s solid and looks decent from a few feet away is usually a success. Trying to achieve absolute perfection might lead to frustration, and sometimes, replacement is the only way to get that flawless look.
Knowing When to Seek Professional Restoration
Sometimes, you can handle minor water damage yourself. A small spill on a wooden table? You can probably wipe that up and maybe do a quick touch-up. But when does a DIY job turn into something that needs a pro? It’s a good question, and honestly, it’s better to be safe than sorry. If you’re questioning your ability to fix it properly, it’s probably time to call in the experts.
The Screwdriver Test for Structural Damage
This is a pretty simple test, but it tells you a lot. Grab a flathead screwdriver and gently probe the wood in the damaged area. If the wood feels soft, spongy, or the screwdriver sinks in easily, that’s a bad sign. It means the water has likely compromised the wood’s structure, and you’re probably looking at more than just a surface issue. This kind of damage can weaken floors, walls, or even support beams, which is definitely not a DIY fix.
Identifying Signs Requiring Expert Intervention
There are a few red flags that should make you pick up the phone. If the water has been sitting for more than 24 hours, mold growth is visible, or the water source was contaminated (like sewage backup), you need professionals. These situations pose health risks and require specialized equipment and knowledge to handle safely. Professionals have the tools to detect hidden moisture and deal with potential mold issues, like those found in professional mold removal services.
Here are some common indicators that it’s time to call for help:
- Extensive Water Saturation: If large areas of wood are soaked, especially structural components like joists or subfloors.
- Visible Mold or Mildew: Any sign of fuzzy or discolored growth means you’re dealing with a health hazard.
- Strong Musty Odors: Persistent, unpleasant smells often indicate hidden mold or rot.
- Significant Warping or Sagging: If wood is visibly bent, bowed, or sagging, its structural integrity is compromised.
- Contaminated Water Sources: Water from floods, sewage, or burst pipes carries dangerous contaminants.
When Replacement Becomes the Best Option
Sometimes, no matter how much you patch or fill, the wood just won’t be the same. If the wood is severely degraded, has lost its structural integrity, or if you’re aiming for a flawless finish that simply can’t be achieved with repairs, replacement might be the only way to go. Professionals can assess if a section can be salvaged or if it needs to be completely replaced, ensuring the long-term health of your home. They can also help with masonry deterioration if that’s a related issue.
Trying to achieve a perfect, invisible repair on heavily damaged wood is often a losing battle. It’s important to be realistic about what can be achieved. If the goal is perfection, and the damage is significant, replacement is usually the more sensible and effective long-term solution.
Wrapping Up: Bringing Your Wood Back to Life
So, there you have it. Dealing with water damage on wood can feel like a huge headache, but it doesn’t always mean you have to toss out that favorite table or replace that warped floorboard. By taking the time to properly dry everything out – seriously, wait longer than you think you need to – and then carefully cleaning, sanding, and finishing, you can often bring your wood back from the brink. Remember, it might not look factory-new, and that’s totally fine. The goal is to make it solid and usable again. If things look too far gone, or you’re just not feeling confident, don’t be afraid to call in the pros. They’ve got the tools and know-how to handle the really tough stuff. Here’s to saving your wood and your sanity!
Frequently Asked Questions
How can I tell if wood is too damaged to fix after water exposure?
If the wood feels soft, spongy, or crumbles easily, it’s probably too far gone. Also, look out for fuzzy mold or if a screwdriver sinks more than a tiny bit into the surface. These are signs that it’s time to call in the pros for replacement rather than repair.
How long should I wait before trying to repair water-damaged wood?
Patience is key! You need to let the wood dry out completely, which can take weeks, not just days. Repairing too soon traps moisture, leading to more problems like mold or the finish bubbling later on. It’s often best to wait for a full season if the damage was serious.
Can I just sand away water stains on wood?
For light stains, sanding might help smooth out the surface and remove some discoloration. However, if the stain is deep or the wood has swelled or warped, sanding alone won’t fix the underlying issue. You’ll likely need to address the structural problems first.
What’s the best way to clean mold off water-damaged wood?
For light mold, a mixture of one part white vinegar to three parts water works well and is safe for most wood. Gently scrub the area. If the mold is more widespread or stubborn, it’s safer to get professional help, as they have special tools and cleaners to deal with it safely.
Why is drying the wood so important before repairs?
Wood acts like a sponge; it soaks up water. If you try to fix it while it’s still wet inside, you’re basically sealing in the moisture. This can cause the wood to swell more, warp, develop mold, or make any new finish bubble up and peel off later. Thorough drying prevents these future headaches.
Will my repaired wood look exactly like it did before?
Honestly, probably not perfectly. Even with the best repairs, you might notice slight differences in color, texture, or sheen, especially where you used wood filler. The goal is to make it structurally sound and look good from a normal distance, not necessarily flawless up close.