Getting your space ready after construction requires a solid plan. Here are the main things to remember to make sure your cleanup is thorough and effective.
Key Takeaways
- A three-phase cleaning approach (rough clean, deep clean, final touch-up) works best for post-construction messes.
- Always clean from top to bottom and dry surfaces before wet ones to avoid spreading dust.
- Windows and glass need special attention to remove paint, stickers, and residue for a clear view.
- Don’t forget hidden spots like inside cabinets, vents, and baseboards – dust loves to hide there.
- Consider hiring professionals for large projects or if you want to save time and ensure a perfect finish.
Mastering The Post-Construction Cleanup Process
So, the hammers are down, the paint is dry, and the big project is finally done. But wait, there’s still that fine layer of dust clinging to everything, right? It’s like a ghost of construction past, obscuring the shine of your new space. This isn’t just a quick sweep; it’s the final, important step to make your place truly ready. Think of it as the grand finale that transforms a work zone into a welcoming home or office.
Understanding The Scope Of Construction Cleanup
Construction cleanup is way more than just tidying up. It’s a specialized process designed to get rid of all the leftover dust, debris, and sometimes even hazardous materials that construction leaves behind. It’s about making sure the air is clean and every surface is spotless. This process is vital for a few reasons:
- Safety: Removing sharp objects, dust, and debris makes the space safe to occupy.
- Health: Fine dust particles can linger in the air, affecting air quality and potentially causing respiratory issues. A good cleanup removes these.
- Aesthetics: It reveals the true beauty of your new or renovated space, free from the mess of construction.
This final cleaning phase is often underestimated, but it’s what truly makes a new build or renovation feel complete and ready for its intended purpose. It’s the difference between a finished project and a finished, move-in-ready space.
The Three-Phase System For A Pristine Finish
To tackle this job effectively, most professionals break it down into three main stages. This phased approach makes sure nothing gets missed and the cleaning is done efficiently, often working alongside the construction schedule. It’s a smart way to handle the mess.
- Rough Clean: This happens during or right after the main construction work, before the final touches like painting or flooring. The goal here is to remove big stuff – trash, large dust piles, leftover materials, and protective films. It clears the way for the finishing trades.
- Final Clean: Once all the building is done and finishes are in place, this is the detailed cleaning phase. Think washing windows, wiping down every surface, sanitizing kitchens and bathrooms, and cleaning light fixtures. This is where the space starts to really sparkle.
- Touch-Up Clean: This is the very last step, usually done right before you hand over the keys or move in. It involves re-cleaning any spots that got dusty again, polishing fixtures, and giving the floors a final mop or vacuum. It’s all about that perfect, move-in-ready look.
Why Professional Cleanup Is Essential
Trying to do a full post-construction cleanup yourself can be a huge undertaking. Professionals bring the right tools, the right cleaning solutions, and most importantly, the experience to get the job done right and fast. They know how to reach those tricky spots and deal with tough construction grime. Plus, they can often do it much quicker than you could, saving you time and stress. For a truly spotless finish, especially on tricky surfaces like acrylic panels, professional help is often the best route.
- Efficiency: They have the manpower and equipment to clean large spaces quickly.
- Thoroughness: They know what to look for and how to clean it, leaving no dust bunnies behind.
- Safety: They are trained to handle potential hazards safely.
When you’re investing so much into a construction project, spending a little extra on a professional cleanup makes sure that investment looks its best from day one. It’s like getting a full health check for your property – you want to know everything is in top condition.
Detailed Cleaning Of Interior Surfaces
After the main construction work wraps up, a fine layer of dust seems to settle on absolutely everything. It’s like a ghost of the building process, clinging to walls, ceilings, and all those little nooks and crannies. Tackling this requires a systematic approach, moving from the highest points down to the lowest. The goal is to make every surface look as fresh as the day it was installed.
Dusting Walls, Ceilings, And Baseboards
This isn’t just a quick swipe with a duster. We’re talking about removing drywall dust, paint splatters, and scuff marks that inevitably happen during construction. The best way to start is with a HEPA-filter vacuum and a soft brush attachment. This gets the bulk of the fine dust off without just pushing it around. Then, you move on to wiping. Always work from the ceiling down to the baseboards. Use damp microfiber cloths – not soaking wet, just damp – to avoid leaving water marks, especially on fresh paint. For baseboards and trim, pay extra attention. Dust loves to collect there, and cleaning them makes a big visual difference.
- Start with ceilings and light fixtures.
- Move to walls, wiping in sections.
- Finish with baseboards, door frames, and window casings.
- Test cleaning solutions in an inconspicuous spot first.
Remember, cleaning dry before cleaning wet is key. If you use water too early, that fine dust turns into a sticky mess that’s way harder to deal with.
Cleaning Cabinetry And Shelving
Inside and out, cabinets and shelves need a thorough cleaning. Construction dust can get into every corner. Start by vacuuming out the insides. Then, use a gentle cleaner appropriate for the cabinet material. Wipe down all surfaces, paying attention to edges and corners. If there are any adhesive residues from protective films or labels, a specialized cleaner might be needed, but always test it first. Make sure to clean the hardware too – handles, knobs, hinges – they often get overlooked.
Wiping Down Light Fixtures And Vents
Light fixtures and vents are dust magnets. For light fixtures, carefully wipe down the glass or metal parts. If they have fabric shades, a gentle vacuum with an upholstery attachment might be needed. For vents, remove the covers if possible and clean them separately. Wipe down the inside of the vent opening and the cover. This step is important for air quality, too. It’s a good idea to check out post-construction cleaning checklists for more detailed steps on these areas.
| Surface Type | Recommended Tool/Cleaner |
|---|---|
| Glass Shades | Microfiber cloth, glass cleaner |
| Metal Fixtures | Soft cloth, metal polish (if needed) |
| Vents | Vacuum attachment, damp cloth |
| Cabinet Interiors | HEPA vacuum, mild all-purpose cleaner |
Achieving Crystal Clear Windows And Glass
Windows and glass are often the first things people notice, and after construction, they can look pretty rough. We’re talking paint splatters, adhesive residue from protective films, and a general haze of fine dust that just won’t quit. Getting them truly clean, without scratching or leaving streaks, is a whole different ballgame than your everyday window wash.
Removing Paint Splatter And Adhesive Residue
This is where the real work begins. Forget your typical Windex and paper towels; those will just smear the gunk around and might even scratch the glass. For dried paint or stubborn adhesives, you’ll need a good scraper. Make sure the blade is sharp and held at a low angle to the glass to avoid any accidental scratches. It takes a bit of patience, but carefully working at these spots will lift the residue. For sticky stuff, sometimes a specialized solvent can help break it down before you scrape.
Tackling Stubborn Grout Haze
Sometimes, especially after tile work, you’ll find a chalky haze on the glass. This is usually grout or thin-set residue. A mild acidic cleaner, often found in specialized post-construction cleaning kits, can help dissolve this. You’ll want to apply it, let it sit for a minute or two, and then gently scrub with a non-abrasive pad. Rinse thoroughly afterward. It’s a good idea to test any cleaner on a small, hidden spot first, just to be safe.
Polishing All Glass Surfaces For A Streak-Free Shine
Once the tough stuff is off, it’s time for the final polish. Professionals often use a mixture of pure water and a squeegee. The pure water has no minerals, so it dries without leaving spots. If you’re doing it yourself, a good quality glass cleaner and a clean microfiber cloth or a professional squeegee can work wonders. Work from top to bottom, overlapping your strokes slightly. For really large panes or hard-to-reach spots, you might need extension poles. Getting this right makes a huge difference in how the whole space looks, making it feel truly ready for occupancy. You can find some great tools for this job at specialized cleaning supply stores.
Kitchen And Bathroom Deep Cleaning Protocols
These areas are often the most detailed and get a lot of attention after construction. They’re also where hygiene is super important, so a good scrub is a must. We’re talking about getting rid of that fine layer of dust that seems to cling to everything, plus any leftover gunk from installation.
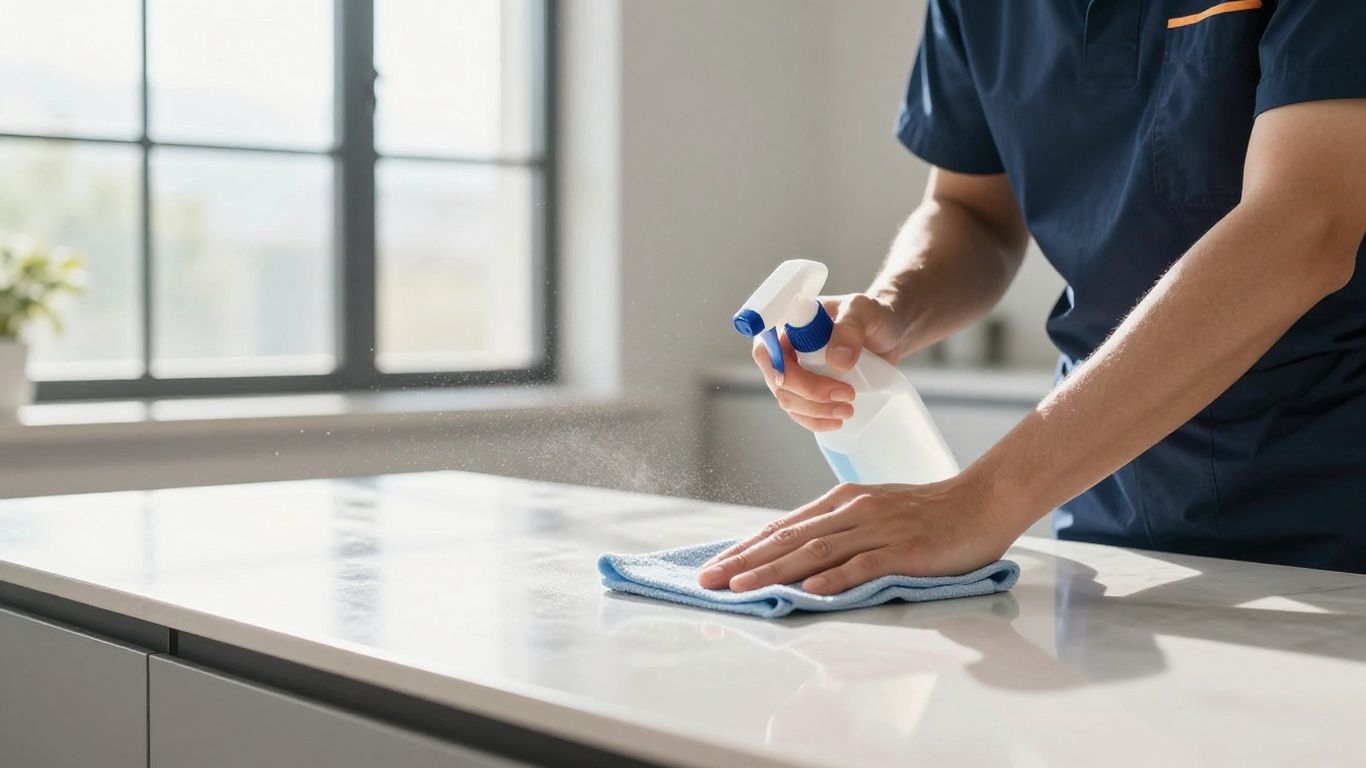
Sanitizing Countertops And Backsplashes
First things first, give your new countertops and backsplashes a good wipe-down. If you have tile, you might notice a hazy film, especially on the grout lines. This is pretty common after tiling work. You can usually get rid of it with a specialized grout haze remover, but always test it on a small, hidden spot first to make sure it doesn’t mess with your material. For other surfaces, a good all-purpose cleaner should do the trick. The goal is to make these surfaces gleam and be ready for use.
Cleaning New Appliances And Fixtures
Appliances and fixtures are usually covered in protective plastic film. Carefully peel this off – sometimes it leaves a sticky residue, so you might need a bit of adhesive remover. Then, use the right cleaner for each finish. Stainless steel, for example, needs a specific cleaner to avoid scratches. Wipe down the exterior of your oven, fridge, dishwasher, and microwave. Don’t forget to clean the inside of the microwave too. For faucets and other hardware, a quick polish with a microfiber cloth will make them shine.
Detailing Sinks, Faucets, and Grout Lines
This is where the real sparkle happens. Give your new sink a thorough clean, inside and out. Polish the faucet until it’s spotless. If you have tile in your shower or backsplash, pay extra attention to the grout lines. A small brush can help get into those tight spots. Make sure to rinse everything well to avoid any cleaner residue. It’s these little details that really make the space feel finished and ready for occupancy.
Remember to work from top to bottom in these rooms. Dust from ceiling light fixtures or high shelves can fall onto surfaces you’ve already cleaned. Tackling the highest points first helps you avoid re-cleaning.
Here’s a quick rundown of what to focus on:
- Sinks & Faucets: Clean thoroughly, polish chrome or other finishes.
- Countertops: Wipe down, address any haze on tile or grout.
- Backsplashes: Clean tile and grout lines carefully.
- Appliances: Remove protective films, clean exteriors and interiors (like microwaves).
- Shower/Tub: Rinse and wipe down, paying attention to corners and grout.
- Toilets: Clean the entire unit, including the base and behind it.
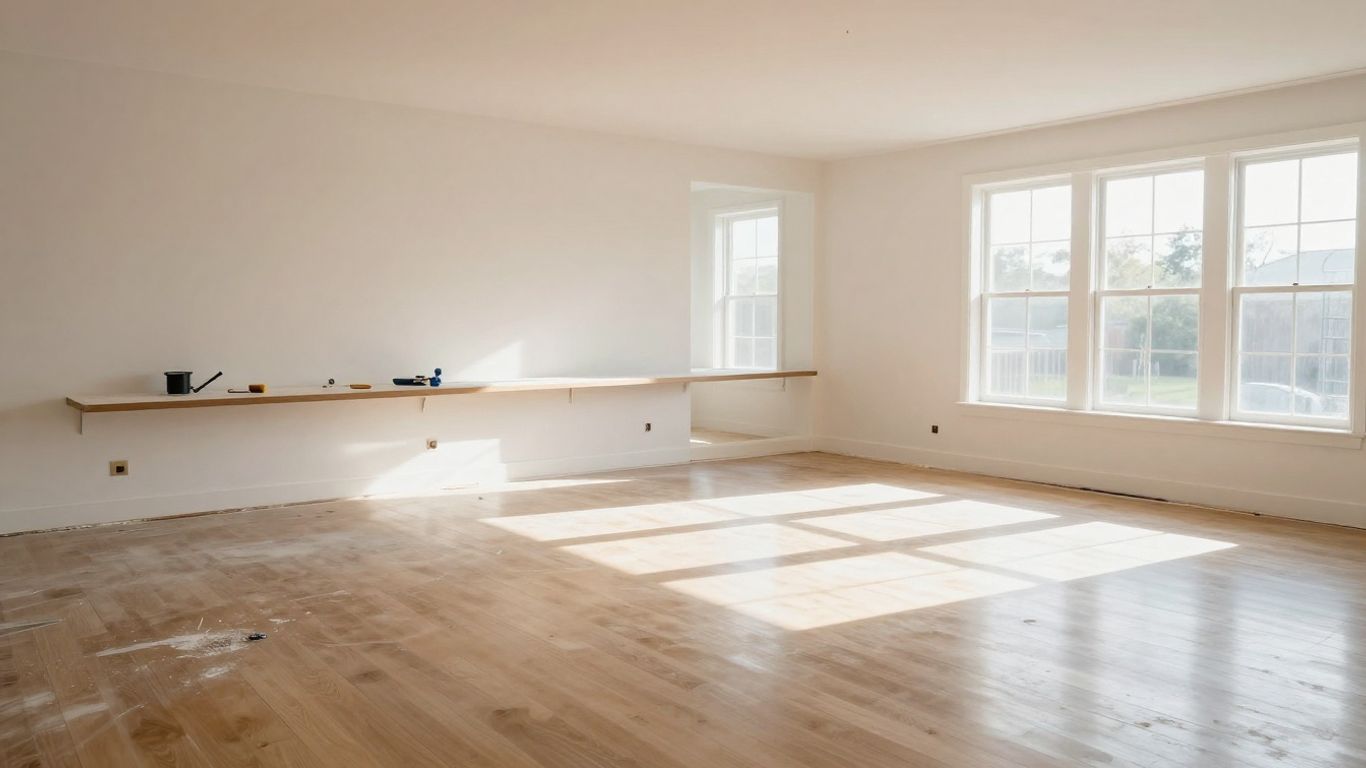
Flooring And Final Touches
Alright, so the big stuff is done, and you’re probably thinking you’re almost there. But hold on, because the floors and all those little shiny bits are where the real magic happens to make a place feel truly finished. It’s not just about sweeping; it’s about making sure every surface gleams and every fixture sparkles. This is the part that really shows off the new build.
Thorough Vacuuming and Mopping
First things first, you’ve got to get all that fine dust off the floors. Think of it like this: all the work done above has sent a layer of dust downwards. You need to tackle that before anything else. A good vacuum with a HEPA filter is your best friend here. It sucks up the dust without blowing it back into the air, which is super important for air quality. After vacuuming, it’s time for a mop. But not just any mop! The type of cleaner you use depends entirely on your floor material. For most hard surfaces, a pH-neutral cleaner is the way to go. You don’t want to use anything too harsh that could damage the new finish.
- Initial Debris Removal: Start with a thorough vacuuming using a HEPA-filter vacuum to capture fine construction dust.
- Targeted Stain Treatment: Carefully scrape or use appropriate solvents to remove paint, caulk, and adhesive without scratching the flooring material.
- Material-Specific Cleaning: Use soft-bristle brushes for tile grout and microfiber mops for hardwood and laminate.
This stage is critical. It’s the difference between a floor that looks clean and one that truly is clean, ready for foot traffic and life.
Addressing Hardwood and Tile Finishes
Hardwood floors need a gentle touch. You want to clean them without stripping their protective coating or leaving water spots. A damp mop with a cleaner specifically made for hardwood is usually best. For tile, especially in kitchens and bathrooms, you’ll want to pay extra attention to the grout lines. Sometimes, a simple mop won’t get all the gunk out of those tiny spaces. A stiff brush and a good grout cleaner can work wonders. If you’re dealing with something like marble or travertine tiles, you’ll want to use cleaners that are specifically designed for natural stone to avoid etching or discoloration.
Final Polish of Hardware and Trim
Now for the details! Think doorknobs, light switch plates, cabinet handles, and baseboards. These small things get overlooked but make a huge difference. You’ll want to remove any protective films that are still on appliances or fixtures – sometimes they hide sticky residue. Use a clean microfiber cloth and a polish suitable for the material. Stainless steel needs a different cleaner than chrome or brass. A systematic approach, working from top to bottom in each room, will make sure you don’t miss anything. This meticulous polishing of hardware and trim is what truly signals the end of the construction phase. It’s these final touches that make a new space feel welcoming and completely finished, ready for you to move in and start enjoying it.
Addressing Air Quality And Safety
After all the hammering, sawing, and painting, there’s a lot more than just visible dust left behind. Construction work stirs up all sorts of fine particles and can leave behind chemical residues. Breathing in this stuff isn’t good for anyone, especially if you have allergies or breathing issues. It’s super important to tackle these hidden dangers before anyone moves in or starts using the space regularly.
Cleaning HVAC Registers and Ducts
The heating, ventilation, and air conditioning (HVAC) system is like the lungs of your building. During construction, dust and debris can get sucked right into the ducts. If you don’t clean them out, every time the system runs, it’ll just blow that gunk around the entire space. This means you’re constantly re-breathing the construction mess.
- Inspect the registers: Look for visible dust buildup. Sometimes, you can see it just by looking into the vents.
- Consider professional duct cleaning: For a really thorough job, especially after major construction, hiring pros to clean the ducts is a good idea. They have special equipment to get deep inside.
- Change air filters frequently: During and immediately after construction, swap out the air filters more often than usual. This catches a lot of the circulating particles.
Removing Construction Hazards
Beyond dust, there are other things to watch out for. Think sharp bits of metal, leftover nails, or even chemical fumes from paints and sealants. These aren’t just messy; they can be genuinely dangerous.
Safety isn’t just about wearing the right gear; it’s about being aware of what’s around you. Take a moment to look for trip hazards, sharp objects sticking out, or any areas that look like they might have chemical spills before you start cleaning.
Here’s a quick rundown of what to look for and how to protect yourself:
- Sharp Objects: Keep an eye out for stray nails, screws, or broken glass. Wear thick work gloves and sturdy shoes.
- Chemical Residues: Some leftover materials can give off fumes. Make sure the area is well-ventilated. If you’re dealing with strong smells, consider wearing a respirator. You can find good ones for general construction dust.
- Uneven Surfaces: Construction sites can have unfinished flooring or debris piles that are easy to trip over. Be mindful of where you’re walking.
Ensuring a Healthy Indoor Environment
Getting the air quality right is the final step to making sure the space is truly ready. It’s about more than just making it look clean; it’s about making it safe and healthy for whoever will be living or working there. This is especially important if children will be using the space soon after renovations, as they are more sensitive to lingering pollutants. Keeping them away from the work area and cleaning thoroughly before they return is a smart move for maintaining good indoor air quality.
- Ventilate, Ventilate, Ventilate: Open windows and doors as much as possible during and after cleaning to let fresh air circulate. Using fans can help speed this up.
- Use HEPA Filters: When vacuuming, a standard vacuum just kicks dust back into the air. Using a vacuum with a HEPA filter traps those tiny particles effectively.
- Wipe Surfaces with Damp Cloths: Dry dusting often just moves dust around. Damp microfiber cloths grab and hold onto dust, making it easier to remove.
Conclusion
Finishing up after construction can feel like a huge task, but it’s the final step that really makes a new space shine. By breaking down the cleaning into stages – starting with the big stuff, then getting into the fine details, and finally doing a quick touch-up – you can tackle the mess methodically. Whether you do it yourself or hire pros, paying attention to every surface, especially windows and hidden spots, is key. A clean space isn’t just about looks; it’s about creating a healthy and welcoming environment to enjoy your newly built or renovated area. So, take a deep breath, follow these steps, and get ready to enjoy the beautiful results!
Frequently Asked Questions
What’s the difference between regular cleaning and after construction cleanup?
Regular cleaning is for everyday messes, like dust bunnies or kitchen spills. After construction cleanup is way more intense. It deals with thick layers of fine dust, leftover building materials, paint splatters, and sometimes even sharp bits. It’s about making a space safe and ready to live in, not just tidy.
How do I get rid of that fine dust everywhere?
That fine dust is tricky! It gets into everything. The best way is to use a good vacuum with a HEPA filter to trap the tiny particles. Wipe down surfaces with damp cloths after vacuuming. It might take a few passes to get it all, especially on walls and ceilings.
Are construction sites dangerous to clean?
Sometimes, yes. There can be sharp objects like nails or glass, and the dust itself can be bad to breathe. Professionals wear protective gear and know how to handle these things safely. If you’re cleaning yourself, be careful, wear gloves and a mask, and watch where you step.
How long does after construction cleanup usually take?
It really depends on the size of the job. A small bathroom remodel might be done in a day or two. But a whole new house? That could take several days, or even a week or more if you’re doing it yourself. Professionals can often do it faster because they have teams and special tools.
Should I clean windows before or after painting?
You usually do a rough clean of windows before painting to get rid of big debris. But the real, detailed window cleaning – getting off paint splatters and making them sparkle – happens *after* all the painting and finishing work is done. That way, you don’t get new dust on them right away.
Why is cleaning the air vents important after construction?
During construction, tons of fine dust gets kicked up. A lot of that dust gets sucked into your heating and cooling system through the vents. If you don’t clean them out, that dust just keeps circulating in your home, making the air quality bad and potentially causing breathing problems or allergies. Cleaning them helps make sure you’re breathing clean air from day one.