Discovering mold in your home can be alarming, especially when you consider the potential health risks it poses to you and your family. Mold exposure can trigger allergic reactions, respiratory issues, and in some cases, more serious health complications. If you suspect mold growth in your home, conducting a DIY home test for mold contamination can be a practical first step before deciding whether professional intervention is necessary.
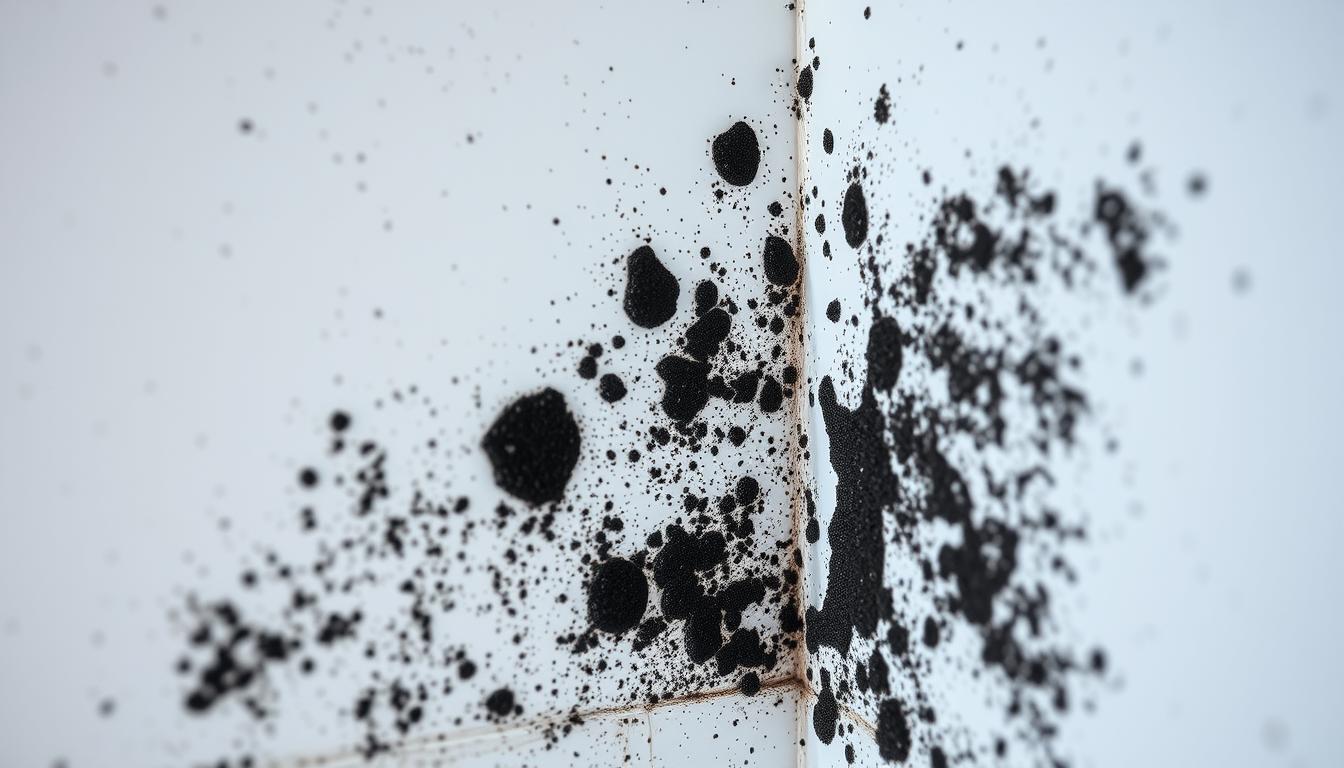
Typical black mold growth in a home environment that requires testing
This comprehensive guide will walk you through various DIY mold testing methods, safety precautions to take during testing, and help you understand when it’s time to call in the professionals. By the end, you’ll be equipped with the knowledge to identify potential mold problems and take appropriate action to protect your home and health.
Understanding the Health Risks of Mold Exposure
Before diving into testing methods, it’s important to understand why mold detection matters. Mold exposure can cause various health issues, with severity depending on the type of mold, exposure duration, and individual sensitivity.

Proper respiratory protection is essential when dealing with potential mold contamination
Common Health Effects of Mold Exposure
Mild to Moderate Symptoms
- Nasal congestion and runny nose
- Throat irritation and coughing
- Eye irritation (redness, watering)
- Skin rashes or irritation
- Headaches and fatigue
Severe Reactions
- Difficulty breathing or shortness of breath
- Lung infections in people with chronic conditions
- Fever and flu-like symptoms
- Worsening of asthma symptoms
- Chronic sinus infections
Important: People with compromised immune systems, respiratory conditions, or allergies may experience more severe reactions to mold exposure. Children and elderly individuals are also at higher risk for health complications.
If you or family members are experiencing unexplained allergic symptoms that improve when away from home, mold contamination could be the culprit. This makes testing for mold an important step in protecting your family’s health.
Recognizing Signs of Potential Mold Contamination
Before conducting a DIY home test for mold contamination, it’s helpful to recognize common indicators that suggest mold might be present in your home. Being aware of these signs can help you target your testing efforts more effectively.

Water damage on ceilings often leads to mold growth
Visual Indicators of Mold
- Visible mold growth – Appears as spots or patches that may be black, green, white, or other colors
- Water stains – Discoloration on walls, ceilings, or floors
- Peeling or bubbling paint – Often indicates moisture behind surfaces
- Warping or bulging of materials – Suggests water damage
Non-Visual Indicators
- Musty odor – A persistent earthy, damp smell
- Increased allergy symptoms – Especially when at home
- Recent water issues – Leaks, flooding, or high humidity
- Condensation – Excessive moisture on windows or pipes
Mold often grows in hidden areas such as behind wallpaper, under carpeting, inside ductwork, or behind drywall. Just because you can’t see mold doesn’t mean it isn’t present.
Safety Precautions for DIY Mold Testing
Before beginning any mold testing procedure, it’s crucial to take proper safety precautions to minimize your exposure to potentially harmful mold spores. Even during testing, disturbing mold can release spores into the air.

Proper protective equipment for DIY mold testing
Essential Protective Equipment
- N95 respirator mask – Filters at least 95% of airborne particles
- Disposable gloves – Nitrile or latex to prevent skin contact
- Safety goggles – To protect eyes from spores
- Protective clothing – Long sleeves and pants or disposable coveralls
Additional Safety Measures
- Ensure good ventilation in the testing area
- Keep children and pets away during testing
- Avoid disturbing visible mold more than necessary
- Dispose of used testing materials in sealed plastic bags
- Wash hands thoroughly after testing, even if you wore gloves
Warning: If you have severe allergies, asthma, or a compromised immune system, consider hiring a professional instead of conducting DIY mold testing to minimize your exposure risk.
5 Effective DIY Home Test Methods for Mold Contamination
There are several methods you can use to test for mold in your home. Each has its advantages and limitations. Depending on your situation, you might want to try more than one method for more comprehensive results.

A typical DIY mold testing kit with various collection methods
1. Tape Lift Sampling
Tape lift sampling is one of the simplest DIY methods for collecting mold samples from surfaces. This method works best for visible mold growth on hard surfaces.
What You’ll Need:
- Clear tape (packing tape or scotch tape)
- Clean glass slides or clear plastic sheets
- Sealable plastic bags
- Permanent marker for labeling

Tape lift sampling technique for collecting mold samples
Step-by-Step Process:
- Put on your protective gear
- Press a piece of clear tape firmly against the suspected moldy surface
- Gently lift the tape, which should now contain a sample of the material
- Place the tape on a glass slide or clear plastic sheet, sticky side down
- Label the sample with the location and date
- Place in a sealed plastic bag
Tape lift samples can be examined under a microscope or sent to a laboratory for professional analysis to identify the type of mold present.
2. Swab Testing

Swab testing technique for collecting mold samples
Swab testing is effective for collecting samples from both hard and porous surfaces. Many DIY mold testing kits include swabs specifically designed for this purpose.
What You’ll Need:
- Sterile cotton swabs
- Sterile water (if swabs are dry)
- Test tubes or sterile containers
- Mold testing kit (optional)
Step-by-Step Process:
- Put on protective gear
- If using dry swabs, slightly moisten with sterile water
- Roll the swab across the suspected moldy surface
- Place the swab in a sterile container
- Label with location and date
- Follow the instructions in your testing kit or send to a lab
3. Petri Dish Testing
Petri dish testing allows you to capture and grow mold spores from the air in your home. This method can help identify airborne mold even when no visible mold is present.
What You’ll Need:
- Mold test kit with petri dishes
- Growth medium (usually included in kits)
- Permanent marker for labeling

Mold growth in a petri dish after several days of incubation
Step-by-Step Process:
- Prepare the petri dish according to kit instructions
- Place the open dish in the area you want to test for 1-2 hours
- Close the dish and seal it
- Label with location and date
- Keep at room temperature for 48-72 hours
- Observe any growth and compare to the reference materials in your kit
Note: Petri dish tests can sometimes yield false positives as they may collect normal environmental mold spores that aren’t necessarily problematic. Consider testing an outdoor area as a control sample.
4. Visual Inspection with Moisture Meter

Using a moisture meter to identify potential mold growth conditions
A moisture meter can help identify areas with excessive moisture that may support mold growth, even if mold isn’t yet visible. This method is preventative and diagnostic.
What You’ll Need:
- Moisture meter (available at hardware stores)
- Flashlight for dark areas
- Notebook to record readings
Step-by-Step Process:
- Identify areas prone to moisture (bathrooms, basements, around windows)
- Use the moisture meter according to manufacturer instructions
- Record readings in different locations
- Pay special attention to readings above 15% (which can support mold growth)
- Inspect areas with high moisture readings more thoroughly
5. DIY Bleach Test
A simple bleach test can help determine if a discolored area is mold or just dirt. This isn’t a definitive test but can provide a quick initial assessment.
What You’ll Need:
- Household bleach
- Water
- Spray bottle or cotton swabs

Before and after bleach test on suspected mold surface
Step-by-Step Process:
- Dilute bleach with water (1 part bleach to 16 parts water)
- Apply a small amount to the discolored area
- Wait 1-2 minutes
- If the spot lightens quickly or disappears, it’s likely mold
- If there’s no change, it may be dirt or another type of stain
Caution: The bleach test is only a preliminary indicator. It works better on non-porous surfaces and may not detect mold growing deep in porous materials. Never mix bleach with other cleaning products.
DIY vs. Professional Mold Testing: A Comparison
While DIY testing can provide valuable initial insights, it’s important to understand its limitations compared to professional testing. This comparison will help you decide which approach is best for your situation.
| Factor | DIY Home Test for Mold Contamination | Professional Mold Testing |
| Cost | $10-$50 per kit | $300-$800 for comprehensive testing |
| Accuracy | Limited; may miss hidden mold | High; uses calibrated equipment and multiple methods |
| Comprehensiveness | Tests specific areas only | Whole-house assessment including hidden areas |
| Mold Identification | Basic; may identify presence but not specific types | Detailed; identifies specific mold species and concentration |
| Analysis | Self-interpretation or basic lab report | Expert interpretation and detailed recommendations |
| Time Investment | 1-3 hours plus waiting for results | 2-6 hours for inspection; 1-3 days for results |
| Best For | Initial screening, minor concerns, budget constraints | Serious concerns, health issues, real estate transactions |

Professional mold inspector using specialized equipment for comprehensive testing
When to Consider Professional Testing
If your DIY test indicates mold presence, you have health concerns, or you’re dealing with extensive water damage, professional testing provides the most accurate assessment. Professional inspectors can access areas you can’t, use specialized equipment, and provide detailed remediation plans.
How to Interpret Your DIY Mold Test Results
After conducting your DIY home test for mold contamination, you’ll need to interpret the results correctly to determine your next steps. Understanding what your test results mean is crucial for making informed decisions about remediation.

Examining and interpreting results from a DIY mold testing kit
Understanding Visual Test Results
- Tape lift and swab samples: Visible dark, green, or colored particles may indicate mold
- Petri dish results: Any growth after 48-72 hours suggests mold spores are present
- Moisture meter readings: Levels above 15% indicate conditions favorable for mold growth
- Bleach test: Rapid lightening suggests mold rather than dirt
Common Result Scenarios
Negative Results
Even if your test shows no mold, remain vigilant if:
- You still smell musty odors
- Family members continue to experience symptoms
- You have visible water damage
- You tested only limited areas
Positive Results
If your test indicates mold presence:
- Identify the extent of the problem
- Determine if you can safely remediate it yourself
- Consider professional confirmation
- Address the underlying moisture source
Important: DIY test kits that require lab analysis will typically provide a report explaining your results. Read this carefully and don’t hesitate to contact the lab with questions about interpretation.
When Results Are Inconclusive
Sometimes DIY tests yield unclear results. This can happen if:
- The sample was contaminated during collection
- Instructions weren’t followed precisely
- The mold is hidden behind surfaces
- The test kit was expired or damaged
In these cases, consider either repeating the test with a new kit or consulting with a professional.
Next Steps: What to Do After Your Mold Test
Once you’ve completed your DIY home test for mold contamination and interpreted the results, it’s time to determine your next course of action. The appropriate steps will depend on your test results and the extent of any mold problem discovered.

DIY remediation of a small, contained mold problem
If Your Test Shows No Mold
- Continue monitoring areas with moisture issues
- Implement preventive measures to control humidity
- Consider testing other areas if symptoms persist
- Fix any water leaks or moisture problems
For Small, Contained Mold Problems
If you discover a small area of mold (less than 10 square feet), you may be able to handle remediation yourself:
- Wear appropriate protective gear
- Contain the area to prevent spore spread
- Remove moldy materials that cannot be cleaned
- Clean hard surfaces with appropriate cleaners
- Dry the area completely
- Address the underlying moisture source

Professional remediation for extensive mold problems
For Extensive Mold Problems
For larger mold infestations (more than 10 square feet), hidden mold, or mold in HVAC systems:
Professional Remediation Is Recommended
Extensive mold problems require professional expertise and equipment to ensure safe and complete removal. Professional remediation services can:
- Properly contain the affected area
- Use specialized equipment to remove mold
- Clean and treat affected surfaces
- Address underlying moisture issues
- Perform post-remediation verification testing
Preventing Future Mold Problems
Regardless of your test results, these preventive measures can help keep your home mold-free:
Moisture Control
- Fix leaks promptly
- Use dehumidifiers in damp areas
- Ensure proper ventilation in bathrooms and kitchens
- Monitor indoor humidity (keep below 60%)
Home Maintenance
- Clean gutters regularly
- Ensure proper drainage around foundation
- Check attic and crawl space ventilation
- Inspect plumbing systems periodically
Frequently Asked Questions About DIY Mold Testing
Can baking soda be used to test for mold?
Baking soda itself cannot detect mold. However, it can be used as part of a DIY cleaning solution after mold is identified. The myth that baking soda can “test” for mold likely comes from confusion with its use as a cleaning agent. For actual testing, use the methods outlined in this guide such as tape lift sampling, swab testing, or commercial DIY test kits.
How reliable are DIY mold testing kits?
DIY mold testing kits have limitations in both sensitivity and specificity. They can confirm the presence of some types of mold but may miss others. The reliability depends on proper sample collection, the quality of the kit, and correct interpretation of results. DIY kits are most reliable as an initial screening tool, but professional testing provides more comprehensive and accurate results, especially for serious concerns.
How long does it take to get results from a DIY mold test?
The time to get results varies by testing method. Visual inspection and moisture meter readings provide immediate results. Bleach tests show results within minutes. Petri dish cultures typically require 48-72 hours of incubation to show growth. For tests that require laboratory analysis, you’ll need to factor in shipping time plus 1-3 business days for the lab to process your samples and send results.
Can I test for black mold specifically?
Most DIY testing kits cannot specifically identify Stachybotrys chartarum (commonly known as “black mold”) without laboratory analysis. While some molds appear black in color, proper identification requires microscopic examination by trained professionals. If you’re concerned about toxic black mold specifically, consider professional testing that includes species identification.
Should I test for mold after remediation?
Yes, post-remediation testing is highly recommended to ensure that the mold problem has been successfully addressed. This is sometimes called “clearance testing.” For DIY remediation of small areas, you can use the same testing methods described in this guide. For professional remediation of larger problems, it’s best to have professional clearance testing performed to verify that mold levels have returned to normal.
Conclusion: Balancing DIY Testing with Professional Expertise
DIY home testing for mold contamination can be a valuable first step in identifying potential mold problems in your home. These methods provide an accessible and affordable way to screen for mold presence and can help you make informed decisions about next steps.

Combining DIY testing with professional consultation for comprehensive mold assessment
However, it’s important to recognize the limitations of DIY testing. While these methods can detect obvious mold problems, they may miss hidden mold, fail to identify specific mold species, or provide incomplete information about the extent of contamination.
The most effective approach to mold testing often combines initial DIY screening with professional verification when needed. This balanced approach helps protect both your health and your wallet.
Remember that the primary goal of mold testing is to protect your health and your home. If you have ongoing health concerns, extensive water damage, or if your DIY test indicates a significant mold problem, professional testing and remediation are strongly recommended.
Take Action Today
Don’t let potential mold problems compromise your family’s health. Whether you choose to start with DIY testing or consult a professional directly, addressing mold concerns promptly is essential for maintaining a healthy home environment.
By following the guidelines in this article, you’re taking an important step toward creating a healthier living environment for you and your family. Stay vigilant about moisture control, address water problems promptly, and don’t hesitate to seek professional help when needed.