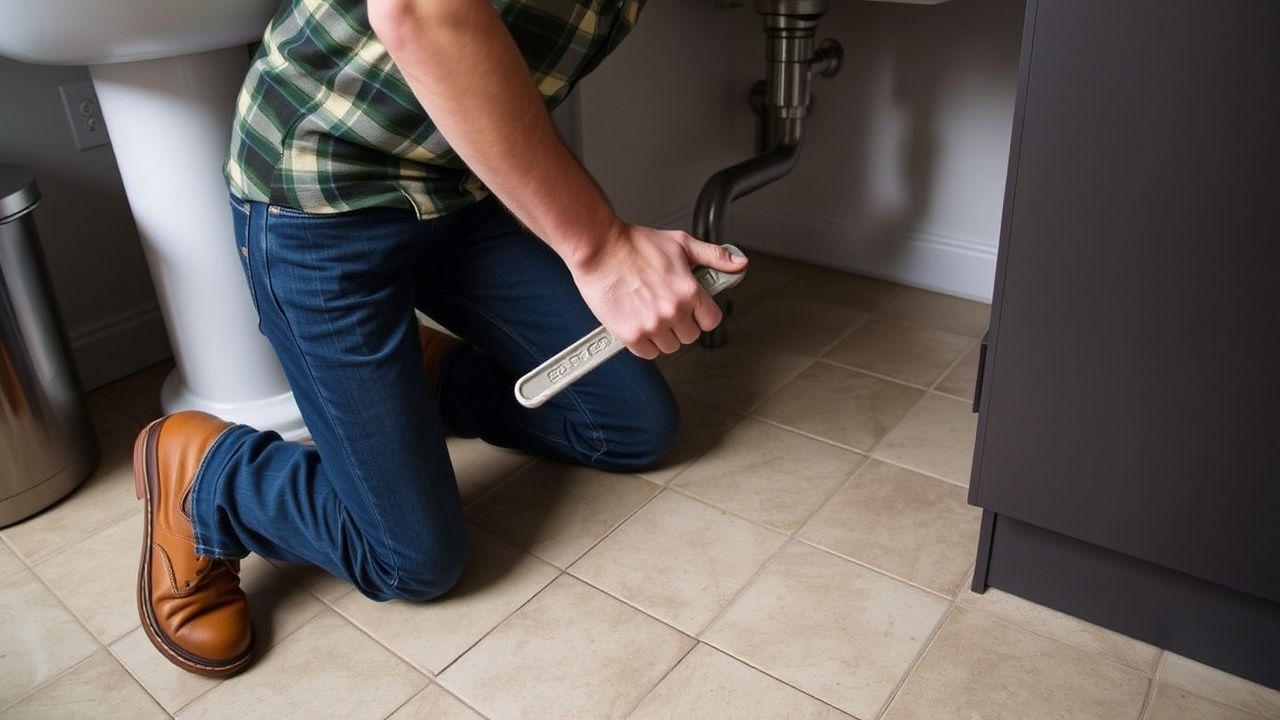
Fixing plumbing leaks without replacing it
Plumbing leaks can cause significant damage to your home if not addressed promptly. Whether it’s a small leak under your kitchen sink or a leaking pipe in your bathroom, learning how to fix plumbing leaks is an essential skill for any homeowner. This guide will walk you through the steps necessary to identify and repair common plumbing leaks.
Understanding Plumbing Leaks
Leaks can occur in various parts of your plumbing system, including pipes, faucets, and fittings. Common causes of plumbing leaks include:
- Worn out seals or gaskets
- Loose fittings or connections
- Corroded pipes
- High water pressure
Identifying the source of the leak is crucial for an effective repair. Check for excess water around the leak, listen for dripping sounds, and inspect visible plumbing connections.
Tools and Materials Needed
Before starting your repair, gather the following tools and materials:
- Wrench
- Pipe cutter
- Epoxy putty
- Pipe tape
- Repair clamps
- Self-fusing silicone tape
- Sealant
- Rubber gaskets
Step-by-Step Guide to Fixing Plumbing Leaks
1. Turn Off the Water Supply
Before you begin any repairs, ensure you turn off the water at the main water supply valve. This will prevent any water damage while you work on fixing the leak.
2. Identify the Source of the Leak
Inspect the area around the pipe you’re repairing. Look for any visible signs of water damage, dampness, or corrosion. Common leak sources include:
- Pipe connections
- Faucets
- Valves
3. Prepare the Area
Clean the pipe around the leak thoroughly. This ensures that any sealant or epoxy adheres properly. If the leak is from a small hole, you may also want to use a pipe cutter to remove the damaged section of pipe.
4. Repair the Leak
Depending on the type of leak, you can use different methods:
- For small leaks: Apply epoxy putty around the leak. This provides a durable seal that can withstand water pressure.
- For leaky pipe connections: Tighten the fittings or apply pipe tape around the connection before securing it.
- For larger leaks: Use a repair clamp or epoxy repair for a more permanent fix.
5. Test the Repair
Once you’ve made the repair, turn the water supply back on and check for leaks. Monitor the area closely for a few minutes to ensure that the repair holds.
Preventing Future Plumbing Leaks
To avoid plumbing issues in the future, consider the following tips:
- Inspect your plumbing regularly for signs of wear and tear.
- Monitor your water pressure to prevent excess strain on your pipes.
- Replace worn-out gaskets and seals promptly.
When to Call a Licensed Plumber
If you encounter a complicated leak or are unsure about the repair process, it’s best to consult a licensed plumber. They have the expertise and tools to handle more extensive plumbing leaks and ensure the job is done correctly.
Conclusion
Fixing plumbing leaks is an essential skill for homeowners. By following the steps outlined in this guide, you can effectively address minor leaks and avoid costly water damage. Remember to inspect your plumbing regularly and take action at the first sign of leaks. For more detailed guidance, you can refer to resources like Balkan Plumbing’s DIY Guide.
